
Installing and Configuring TeamSpeak
Installing TeamSpeak is fairly straight-forward, but there are some key settings that everyone would benefit from using.
Step 1: Install the program
You can download the app from www.TeamSpeak.com and install it using the installation wizard, same as any other windows program. Just follow the prompts and it's safe to use the default options on every page.
I recommend that you download and install the "TS3 Client" rather than the "TS5 Client" which is still beta software. This guide is based on the TS3 version.
The MyTeamSpeak options can be useful if you use TeamSpeak from more than one computer, but it's really not necessary and I don't use it myself.
Step 2: Configure the program
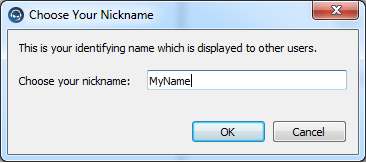
First off, you'll be prompted to select a Nickname.
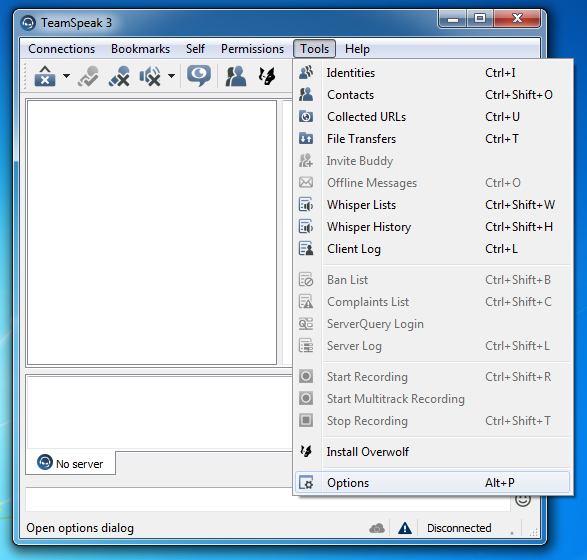
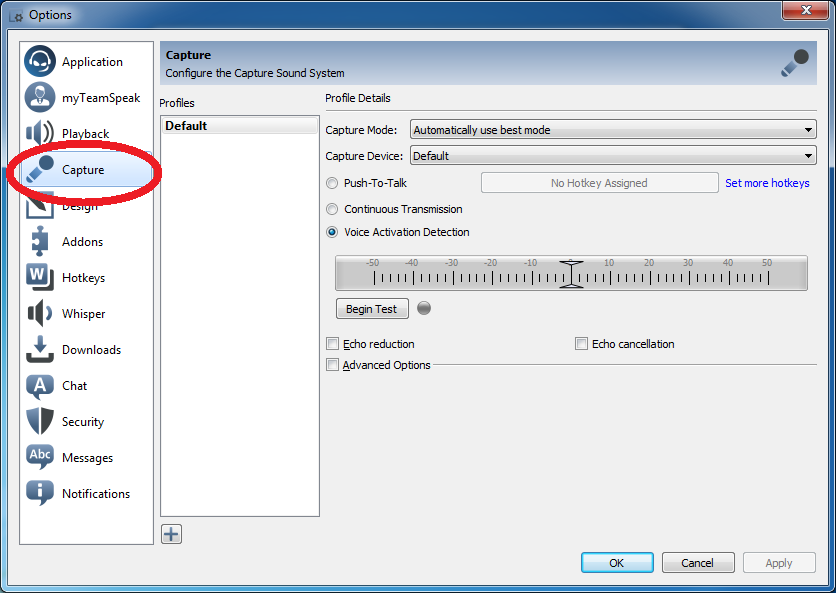
On the left-hand side, start with the Capture options.
Step 3: Capture Options
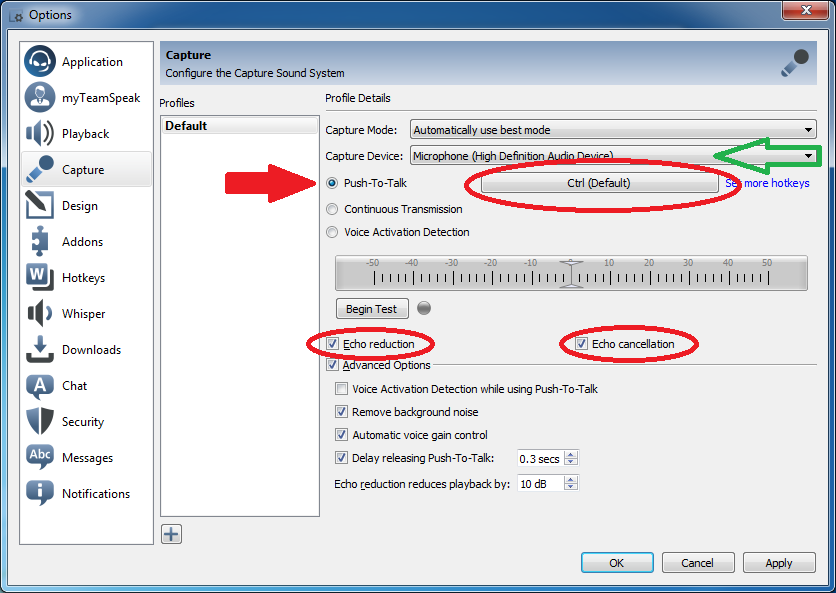
First, select Push-To-Talk (rather than Voice Activation Detection)
Next, click the button next to Push-To-Talk to set a suitable hotkey.
(The example below shows the Left Ctrl key.)
Next, enable both Echo reduction and Echo cancellation.
(These will improve your sound quality dramatically, especially if you are not using a headset.)
Finally, check the drop-down menu for the Capture Device to make sure that TeamSpeak is using the microphone device you want/expect (the green arrow below).
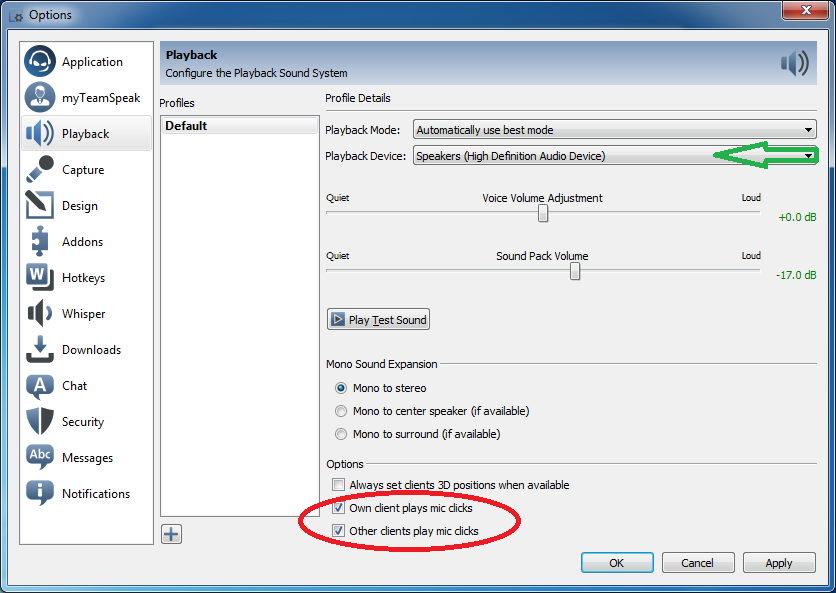
Step 4: Playback Options
Select Playback on the left side.
As with the Capture options, check the drop-down menu for the Playback Device to make sure that TeamSpeak is using the correct device.
These will make it easier to hear when someone begins and ends talking--or when someone is trying to talk but not sending any audio.
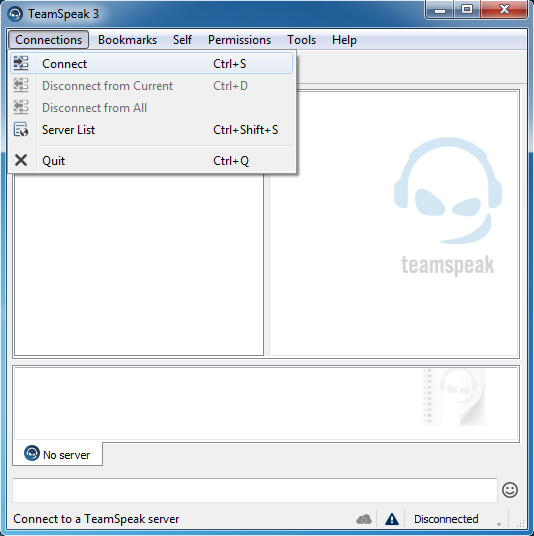
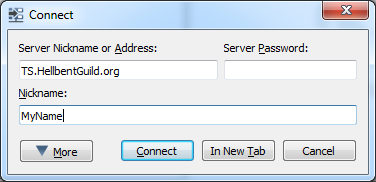
Step 5: Connect to the Server
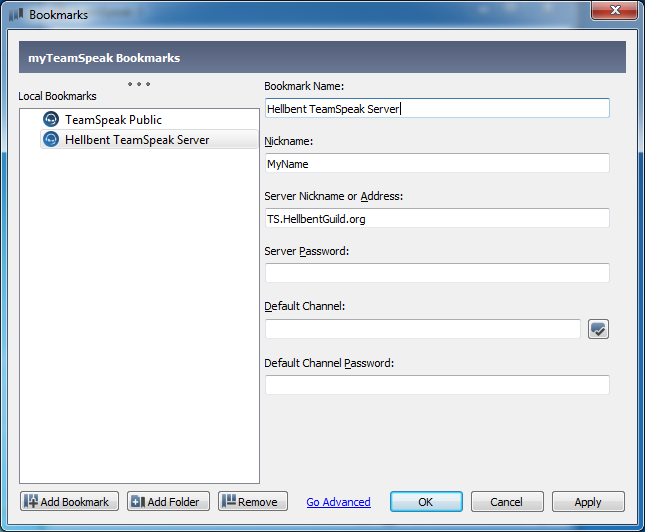
Step 6: Bookmark the Server
Note that the Nickname you use here will be saved with the bookmark, so if you later decide to change it, you'll have to edit the bookmark too.
So what's the big deal with Voice Activation Detection vs. Push-To-Talk?
I really hate that TeamSpeak defaults to V.A.D. because it creates more problems than it fixes.
In theory, IF you have the sensitivity dialed in PERFECTLY, it can be more convenient and easy to use.
In practice, that is never the case.
If you have the sensitivity set too high, then it will activate for more than your voice. The people in the channel will usually hear other noise in the room, other people talking to you, your own sneezing / sniffling / heavy breathing, and often the sound of you typing loudly. This is a distraction and not what anyone wants to hear.
If you have the sensitivity set too low, then your voice will cut in and out while you are talking. This makes it harder for people to understand you because they are only hearing part of what you are saying and having to mentally piece the rest together.
In both cases, you have no idea that anything is wrong.
Even if you DO have the sensitivity dialed in really well, this presumes that you always speak exactly the same way and with exactly the same volume . . . and that you don't ever pause while speaking. This is never the case. It also assumes that you always want everything you say to be broadcast. Do you?
So please do everyone a favor and use a Push-To-Talk key.